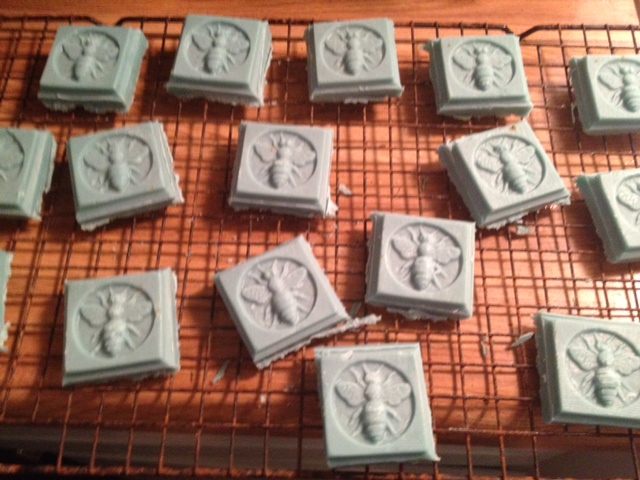
 As you may remember from a few weeks ago, hubby and I completed our first honey harvest a few weeks ago. Since then, I’ve had all the leftover wax from the six frames we harvested sitting in a large tupperware container on my counter.
Finally, last night, after having cleared the Tivo of anything interesting, I decided I’d go ahead with our first use for the wax: soap. If, like me, you are thinking of making soap for the first time, allow me to let you in on a little secret: you can spend hours researching supponification and how to handle lye so as to not horribly disfigure yourself, or you can just use melt and pour soap bases.
With melt and pour bases, you heat up the existing base, add whatever personal touches you want (for me, that meant 3 tbsp of beeswax, 15 drops of lavender oil, and 1-2 drops of coloring per pound of soap base) pour it in your mold, and voila – in about 10 minutes of actual work and three hours of waiting patiently for it to harden, you have adorable homemade soap. Need more details on the process? Start here.
A word to the wise though about unfiltered beeswax – if you want perfectly clear soap but are planning on using wax from your honey harvest, you’ll need to melt it down in advance to skim off the impurities. I find the tiny little imperfections sort of interesting though, and to me at least, it makes the soap actually look like part of it came from honeycomb, so I left it.
All in all, this was a quick and easy process to create a nice gift that will go along with our honey jars in Christmas presents this year. I’d highly recommend trying it out if you’re looking for a fun new craft project, and especially if you have a stockpile of beeswax just sitting around.
