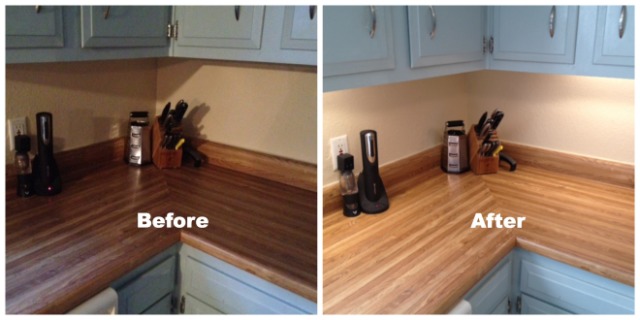
 There’s nothing that bugs me more than not being able to see what I’m doing and/or read a recipe while trying to cook in my kitchen. And yet, if you’re like most Americans who have cabinets above your countertops, you’re likely losing a lot of light in your main prep area.
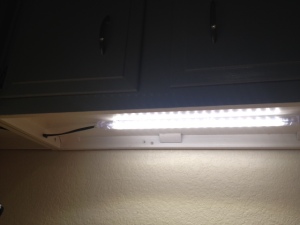
Ever since I’ve moved in, I’ve wanted under cabinet lighting, and with no other real plans this weekend, I decided to make it happen. If you’re thinking of installing your own under cabinet lighting, let me guide you through a few key pointers. (Click the Continue Reading button to see more!)
 First – measure the area. you want to make sure you buy the right length of lights but ALSO that you make sure you get lights with a long enough cord to reach whatever power source you’ll be using, and long enough connection wires to reach between each light.
Second – consider where your on/off switch will go. If you are comfortable doing wiring yourself, it’s relatively easy to wire it into a light switch, but even if you’re not, you’ll want to look for an outlet that is relatively hidden – you don’t want wires hanging all over your kitchen. Ideal solutions would be if you have an outlet located inside one of your upper cabinets, or behind a major countertop appliance like a microwave or coffeemaker.
Third – identify and drill any needed holes. Because you’ll probably be linking up numerous lighting sets on multiple cabinets, you may need to drill small holes for the connecting wires to go through the bottom of the cabinet frames. Try to drill towards the top and back of the supports, and you’ll be less likely to see any of your wires.
Finally, pick up a packet of adhesive cord clips to make sure all wires stay tucked away under the cabinet skirt. I like the 3M Command brand, as they’re easily removable.
And that’s it! With only $75 in supplies and about 30 minutes of work, I transformed my prep space from dark and dreary to bright and sunny. I really wish I’d done it sooner, it makes me happy every time I switch on these lights!
